
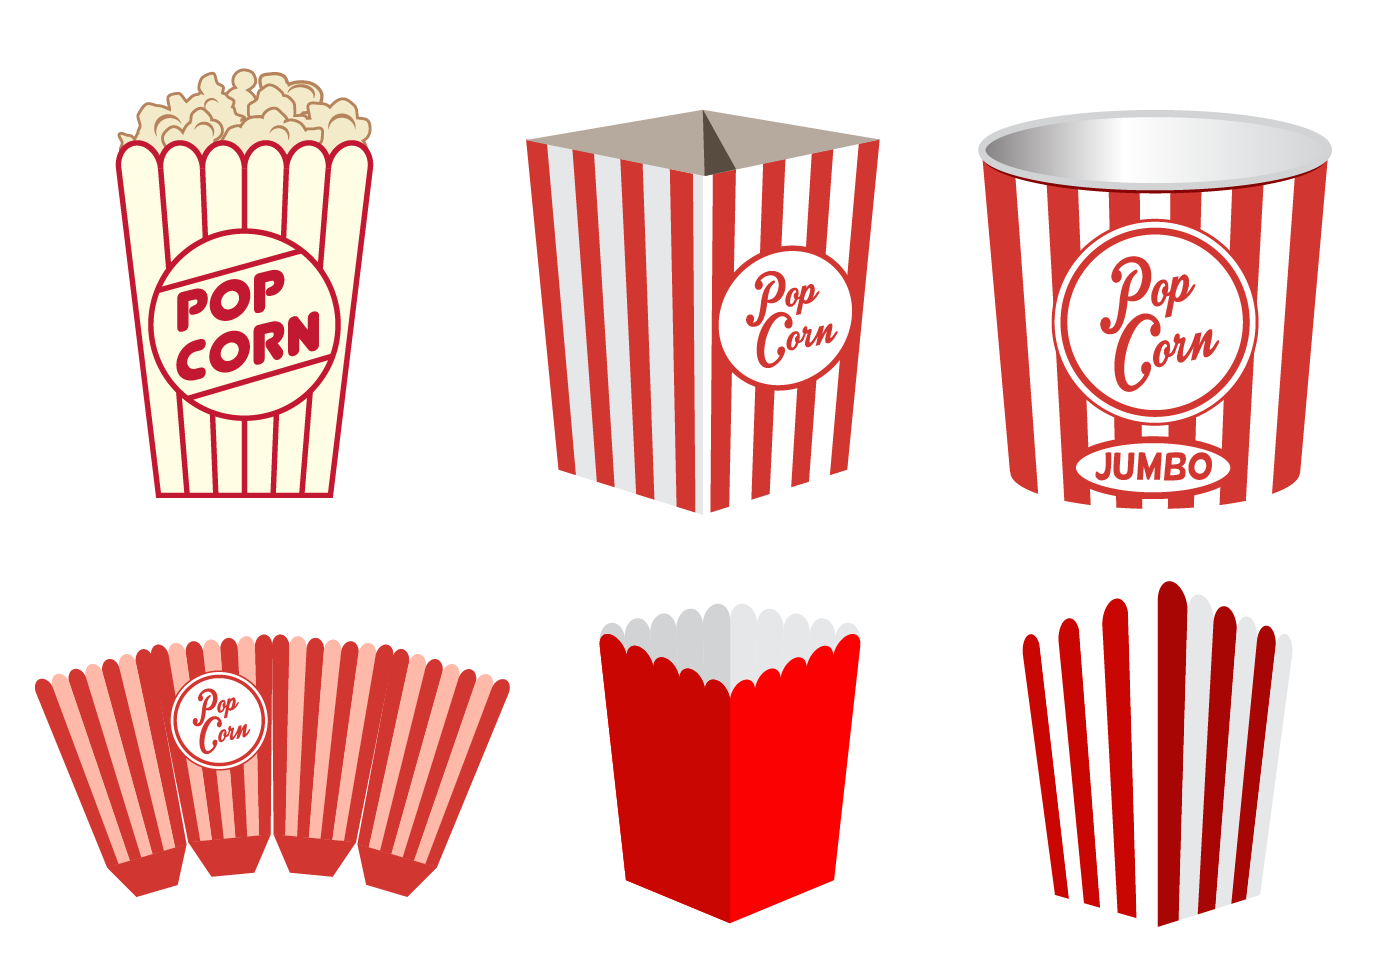
Using paper and markers, you can create a personalized popcorn boxes. Glue or double-sided sticky tape can be used to secure the edges. Once assembled, fill the box with your favorite snack. Or, you can fill it with different flavors of store-bought popcorn.
When making a paper box, use cardstock instead of plain printer paper, which will tear easily. Cardstock is thicker than printer paper and will keep the box together better. You can also use a ruler to help you create a shaped box. Use a square piece of paper for the back and two smaller pieces for the sides.
You can use the free Sing popcorn boxes if you don’t want to spend much time creating your Popcorn boxes. It’s easy to download and printable and has two different templates for each box. After you print and cut the templates, fold the paper along the lines and double-sided tape the flaps.
Method 1: Using a Printable Template
Using a printable template can make the design process much easier. It helps you visualize your designs before they go to print. You can find a lot of mockups online, many of them free. The best ones are available on websites like Creative Market. They look professional and can even be automated.
1. Choose And Print A Template.
There are a few different ways to choose and print a printable template. You can either find one online or access a template program that is suitable for your needs. Then, ensure all the information on the template is accurate before printing. If the template is downloaded from a website, you should open it and edit it if needed.
If you’re printing the template from home, choose the option to print it in a PDF file. This option is ideal if you plan to change the design or text. In addition, you’ll be able to select the paper size you’d like to use. Usually, templates are offered in A4 and Standard letter sizes. If you’re printing a smaller template, choose a different size. When choosing the size, print a test page to check that the printing settings are correct. Also, make sure that your artwork or text fits within the trim marks.
2. Print The Design Onto Cardstock
A few important things to consider before printing your design onto cardstock. First, you’ll need to ensure you’re using the correct print settings. Then, you’ll need to monitor the print job to ensure it’s going as smoothly as possible. This is particularly important if you’re using dark templates, as they can use a lot of ink.
Next, you’ll need to know what size card stock you’ll be printing. Some printers will support printing on only a certain size, so check your printer settings to find out which sizes it can handle.
3. Score The Lines Of The Template
To score the lines of a printable template:
- Follow the steps below.
- Open the SVG cut file in Cricut Design Space.
- In the Score section, find the score lines. These will typically be highlighted in the tutorials or instructions.
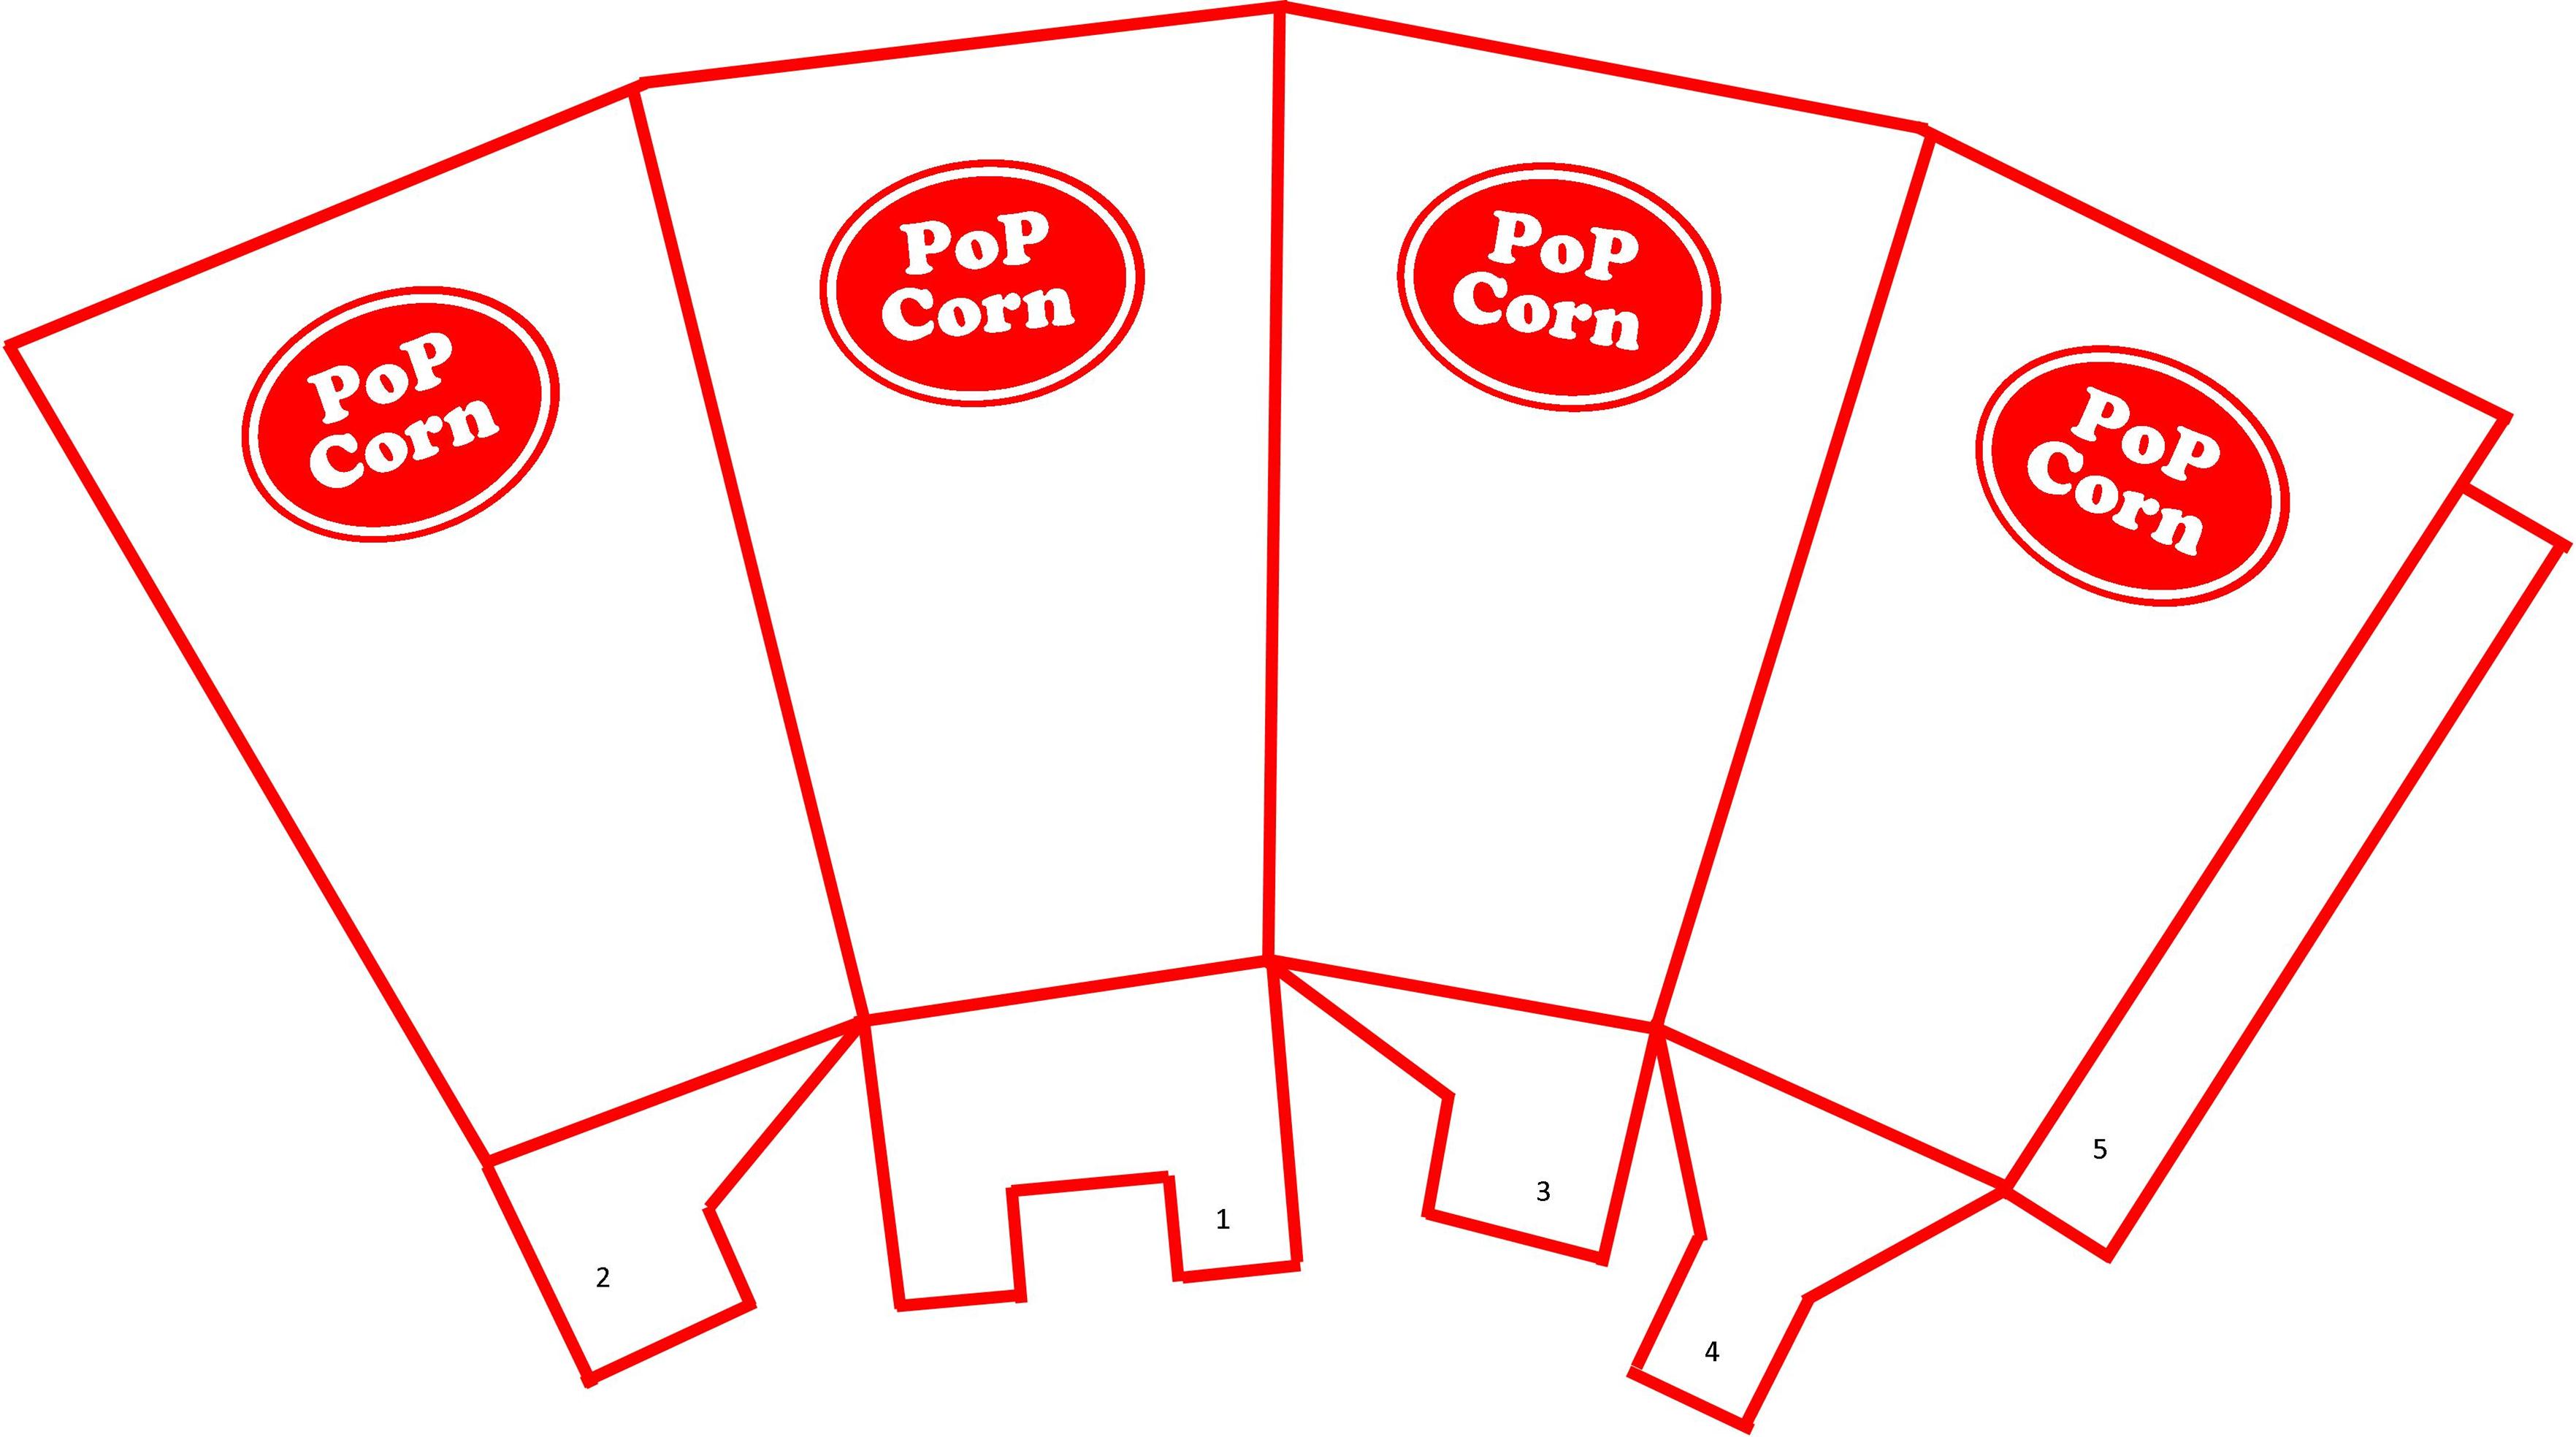
You can also see the score lines in the thumbnails.
Score the lines of a printable template by selecting the appropriate layer and setting its layer style to Score. Then, attach the score line to the layer below it. You’ll see that you need to have 31 score lines. Check each mat to see if any score lines are missing. If you find any, go back to find them and attach them.
4. Cut The Box Out With Scissors.
Whether you’re making a gift for a special someone or want to make a box for yourself, there are a number of different ways to cut a box. Paper templates can be printed on different types of paper and cut out using scissors.
To make the box easier to fold, you can score the template with a scoring tool or ruler to help you get a smoother fold. When folding the box, you want to bend the four sides into the shape of a bowl, so you should bend the four corners into flaps.
5. Fold The Box Together.
When using a printable template, fold the box’s sides together, so they fit together snugly. Once this is done, apply glue to the tabs at the top and bottom of the box. Press the edges together for 30 seconds to a minute to ensure that the glue grabs hold and adhere to the box’s sides. Add a ribbon if desired.
When using a printable template, the sides and top of the Popcorn boxes can be glued together with a hot-glue gun. If using two identical pieces of cardboard, glue them together along the lines so that the box is flat and stable.
Method 2: Freehanding Your Design
Freehand design can be a great way to generate ideas and translate them into a tangible format. It can also help designers to uncover potential stumbling blocks and encourage team discussion. To freehand your design:
- Follow these steps.
- Decide on a paper type and material.
- Cut out pieces with scissors or an X-acto knife.
- Glue or tape them together.
-
Choose Your Paper Material.
The choice of paper material is important in freehand painting. You can purchase several different kinds of paper in art stores with different weights and textures. Different materials have different advantages and disadvantages. However, there are some general guidelines for choosing a paper. A good way to make the process easier is to choose translucent paper, which can be cut very easily with a craft knife.
-
Find A Template Or Freehand Your Own
With the growing demand for product design teams to create faster-moving digital products, InVision has developed a new freehand template gallery. The gallery features templates from leading enterprise organizations, including IBM, American Express, and Asana. Using these templates can help product design teams collaborate more efficiently and quickly.
Freehand has been designed with inclusion in mind, encouraging everyone to engage and collaborate. Its user-friendly interface allows non-designers to join in the collaboration process. It also provides a canvas for hand-drawn wireframes. In addition to freelancing a design, users can also import a template and share it with their team.
2. Cut Out The Pieces With Scissors And An X-Acto Knife
If you want to add depth to your design, use an X-acto knife to cut out the pieces in the middle. A metal ruler works well for this, as it helps guide the knife while cutting. You should choose an X-acto knife with a sharp blade. These knives are inexpensive and easy to use, but you should be careful when using them.
3. Glue Or Tape The Pieces Together.
Before freelancing your design, it is important to know how to glue or tape the pieces together. The pieces should have the same pattern and be folded in the middle. Place a glue stick in the center of the purple piece and the right piece on top. Then, let the glue dry before playing with the pieces.
Method 3: Upcycling Another Box
You can reuse old gift boxes, jewelry, shipping, and even shoe boxes to make unique upcycled storage boxes. Gluing together pieces of cardboard is a simple process, and the best glue is hot glue, which has excellent holding power and dries quickly. Brit + Co. has created an adorable Belted Storage Tote from recycled boxes.
-
Cover The Box With White Paper
If you have a large box lying around, consider upcycling it by covering it with white paper. This way, you’ll save on materials and the landfill space required to dispose of the box. It is also a great way to recycle bits and pieces of common items and help the environment. Plenty of options are available, and you can even use the top of the box as decoration.
2. Add Decorative Accents
Decorative accents made from vintage items are a great way to create conversation pieces in your home. They reflect the style of your home and can add a unique creative touch to your decor. It’s also an environmentally-friendly way to make a decorative accent without using a new material. The current trend is upcycling vintage items into new designs. Glass home decorations from recycled glass can be a fun accent to any upcycled home decor project.
3. Line With Wax Paper And Fill Up With Popcorn
You can use wax paper as a protective layer for the popcorn boxes. It will prevent them from becoming damaged by butter and grease, which can be thrown away when you’re finished watching your movie. Instead of wax paper, you can use packing peanuts. If you want, you can spray them with butter-yellow paint.
If you prefer not to use wax paper, you can line another box with wax paper and fill it up with the popcorn. Make sure to align the edges, so the popcorn does not soak into the wax paper. Once you have done that, it is time to decorate the popcorn boxes. You can use thin lines or thick ones.

